
Step 10
– Headshot Photo
We need a good-quality headshot photo of you that will be used on your E4 ID badge.
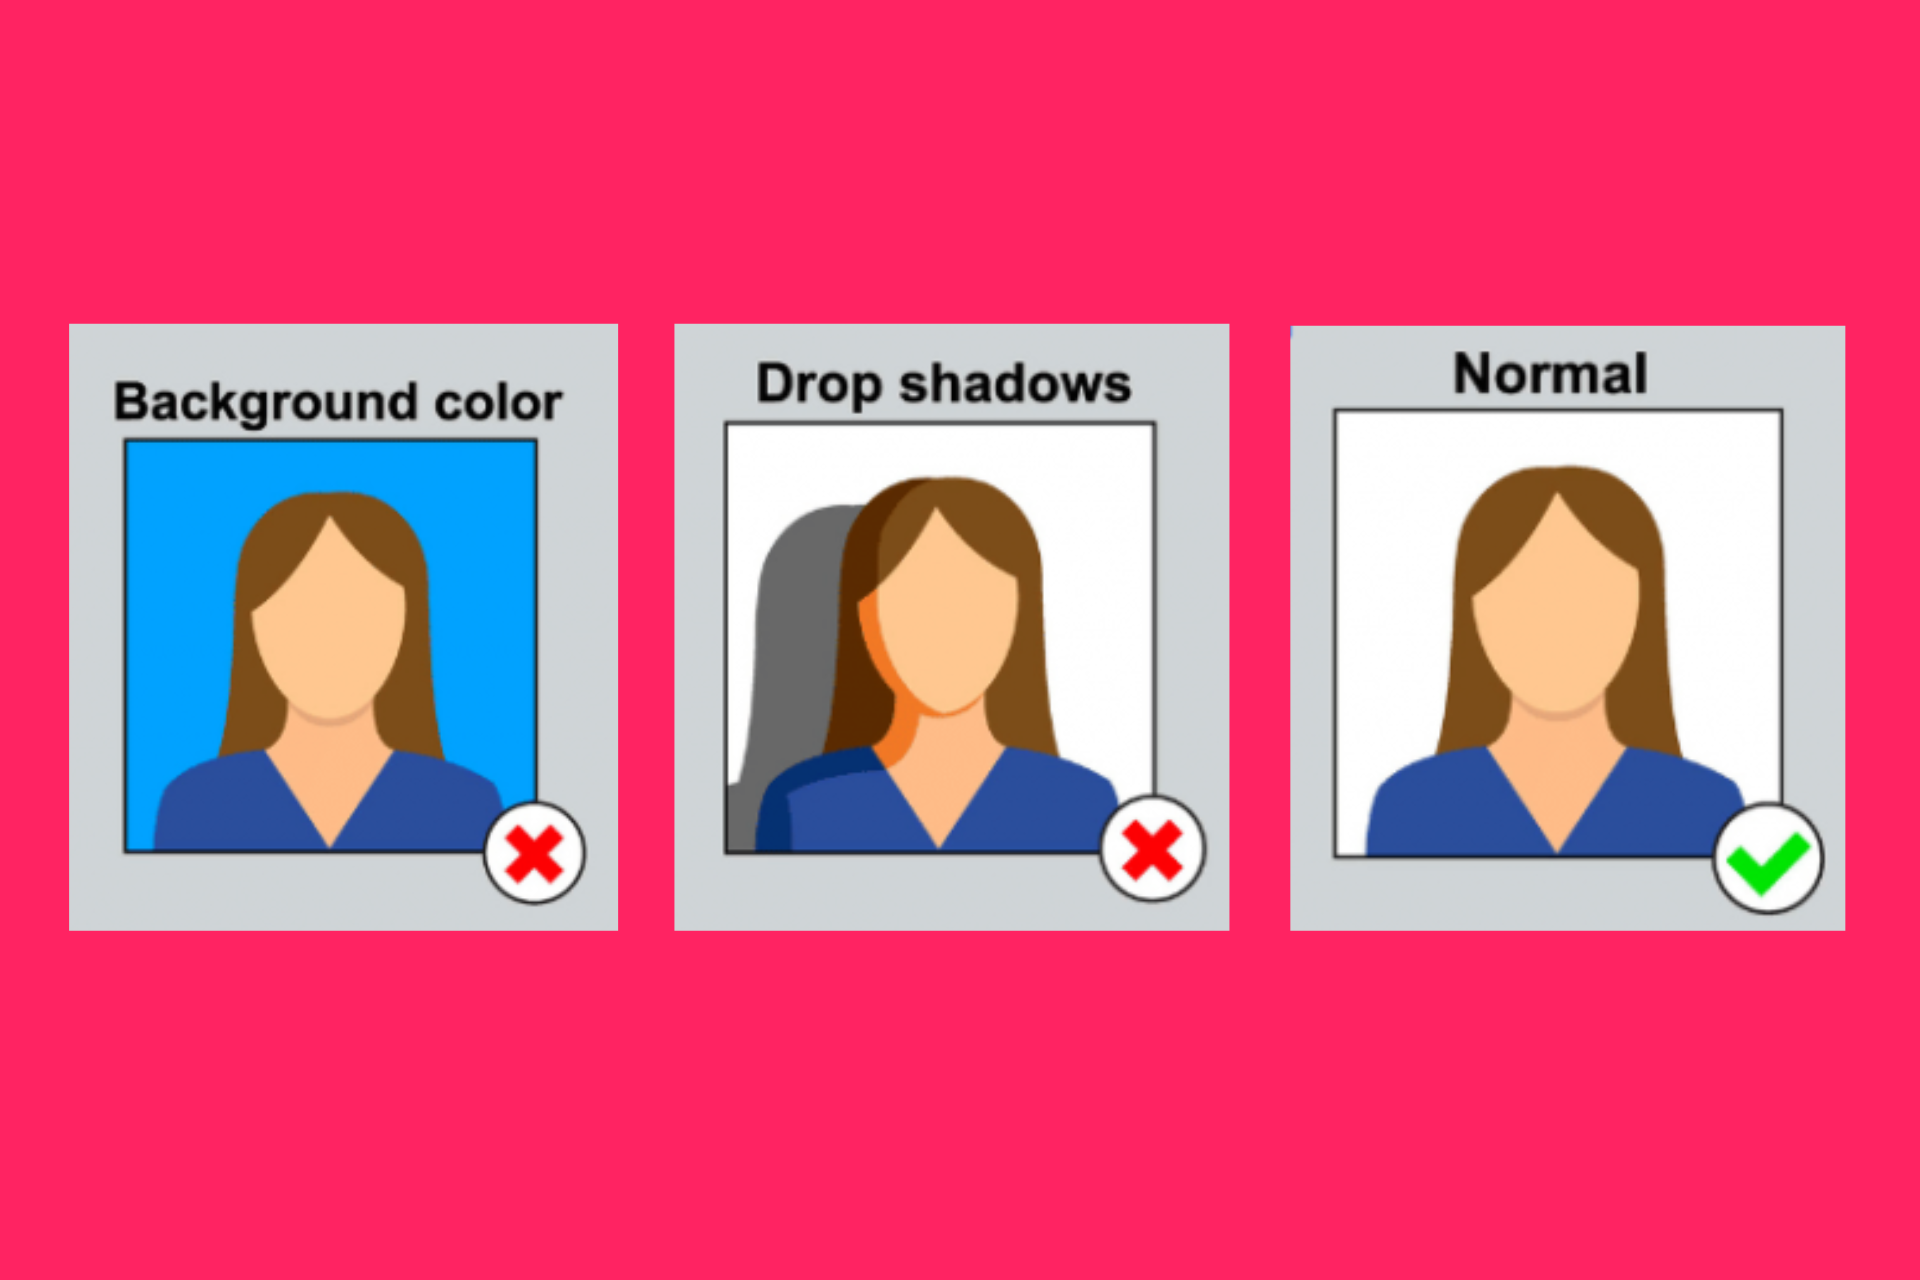
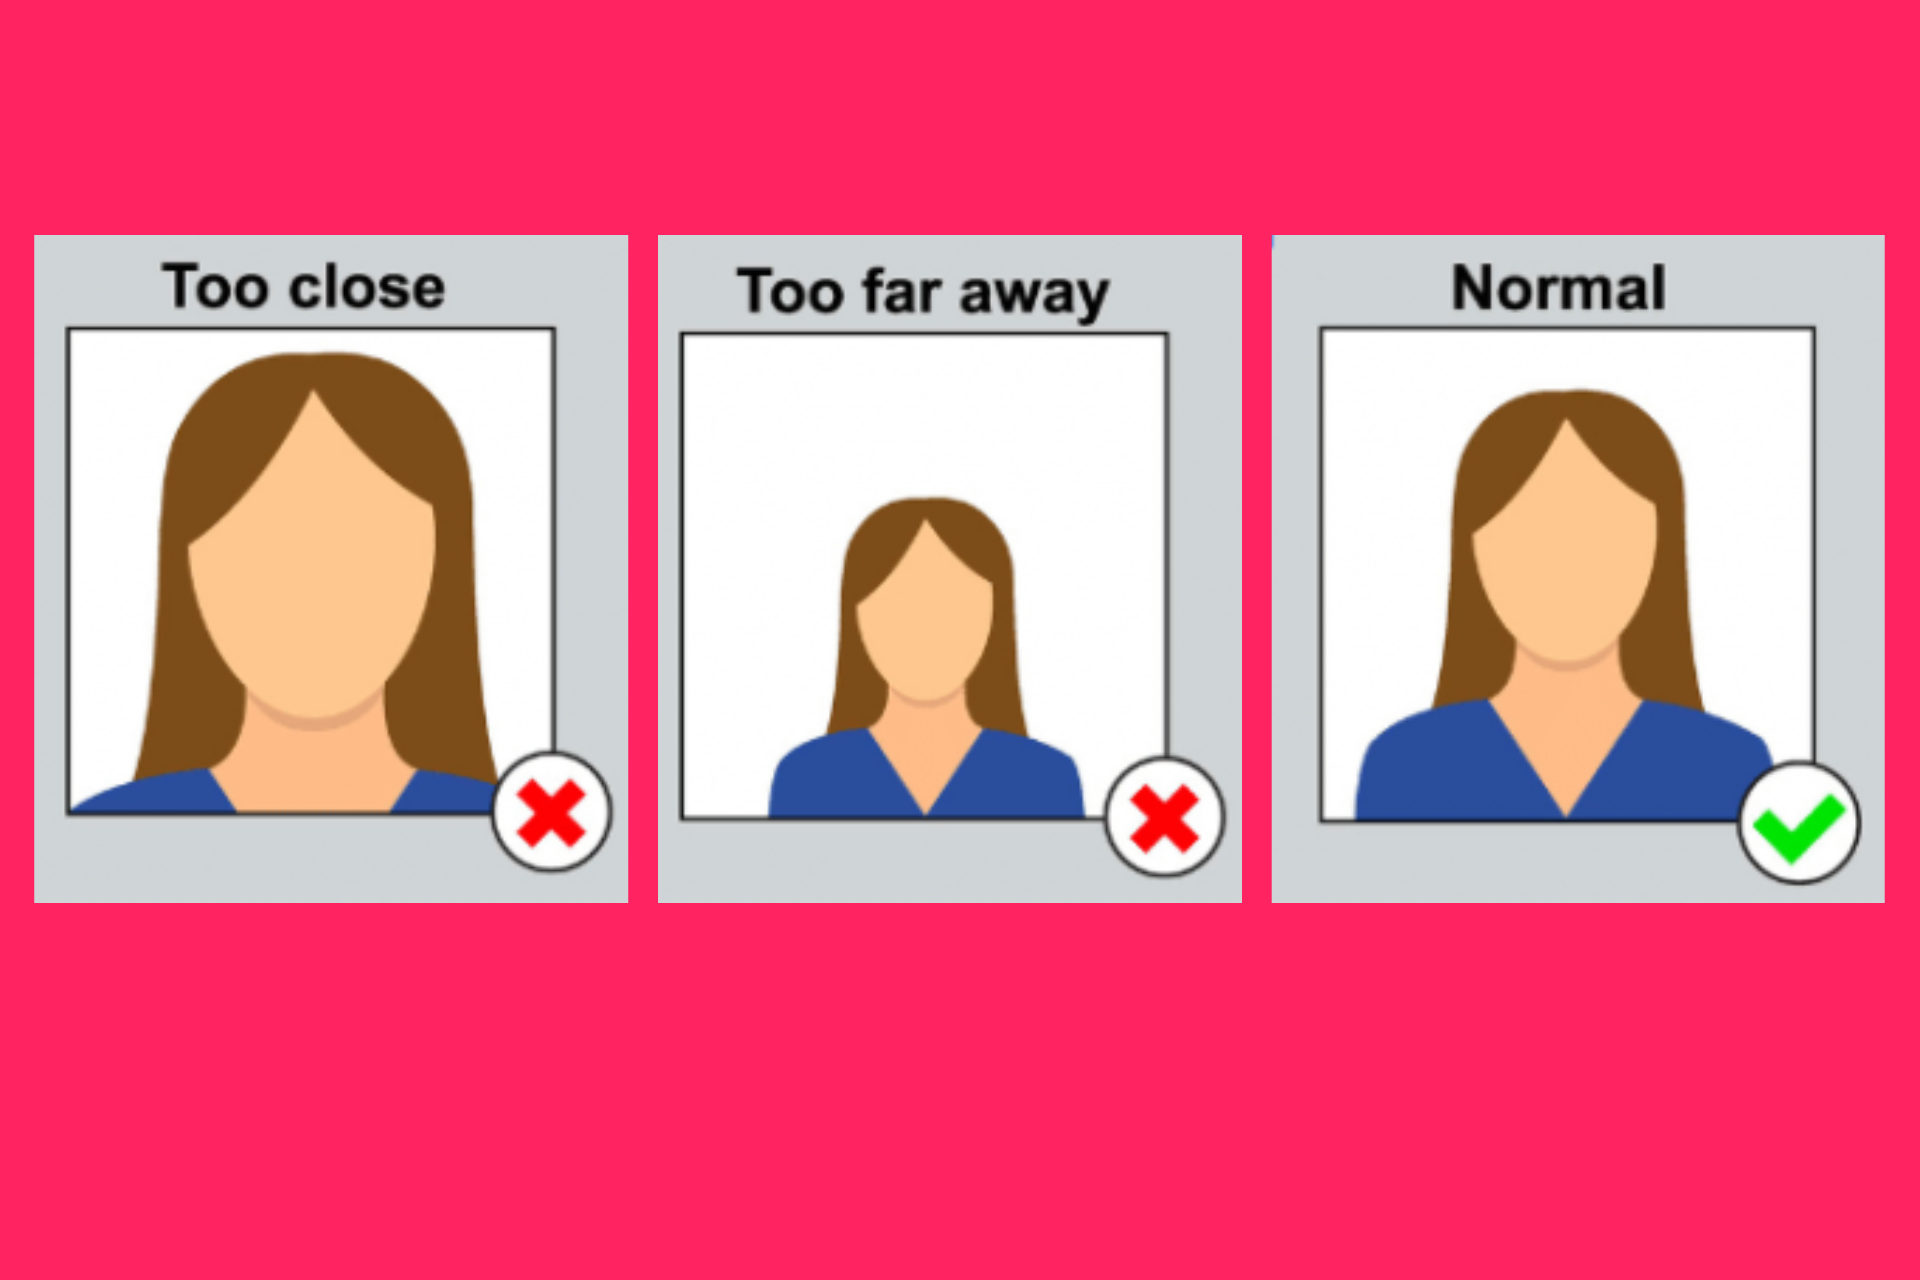
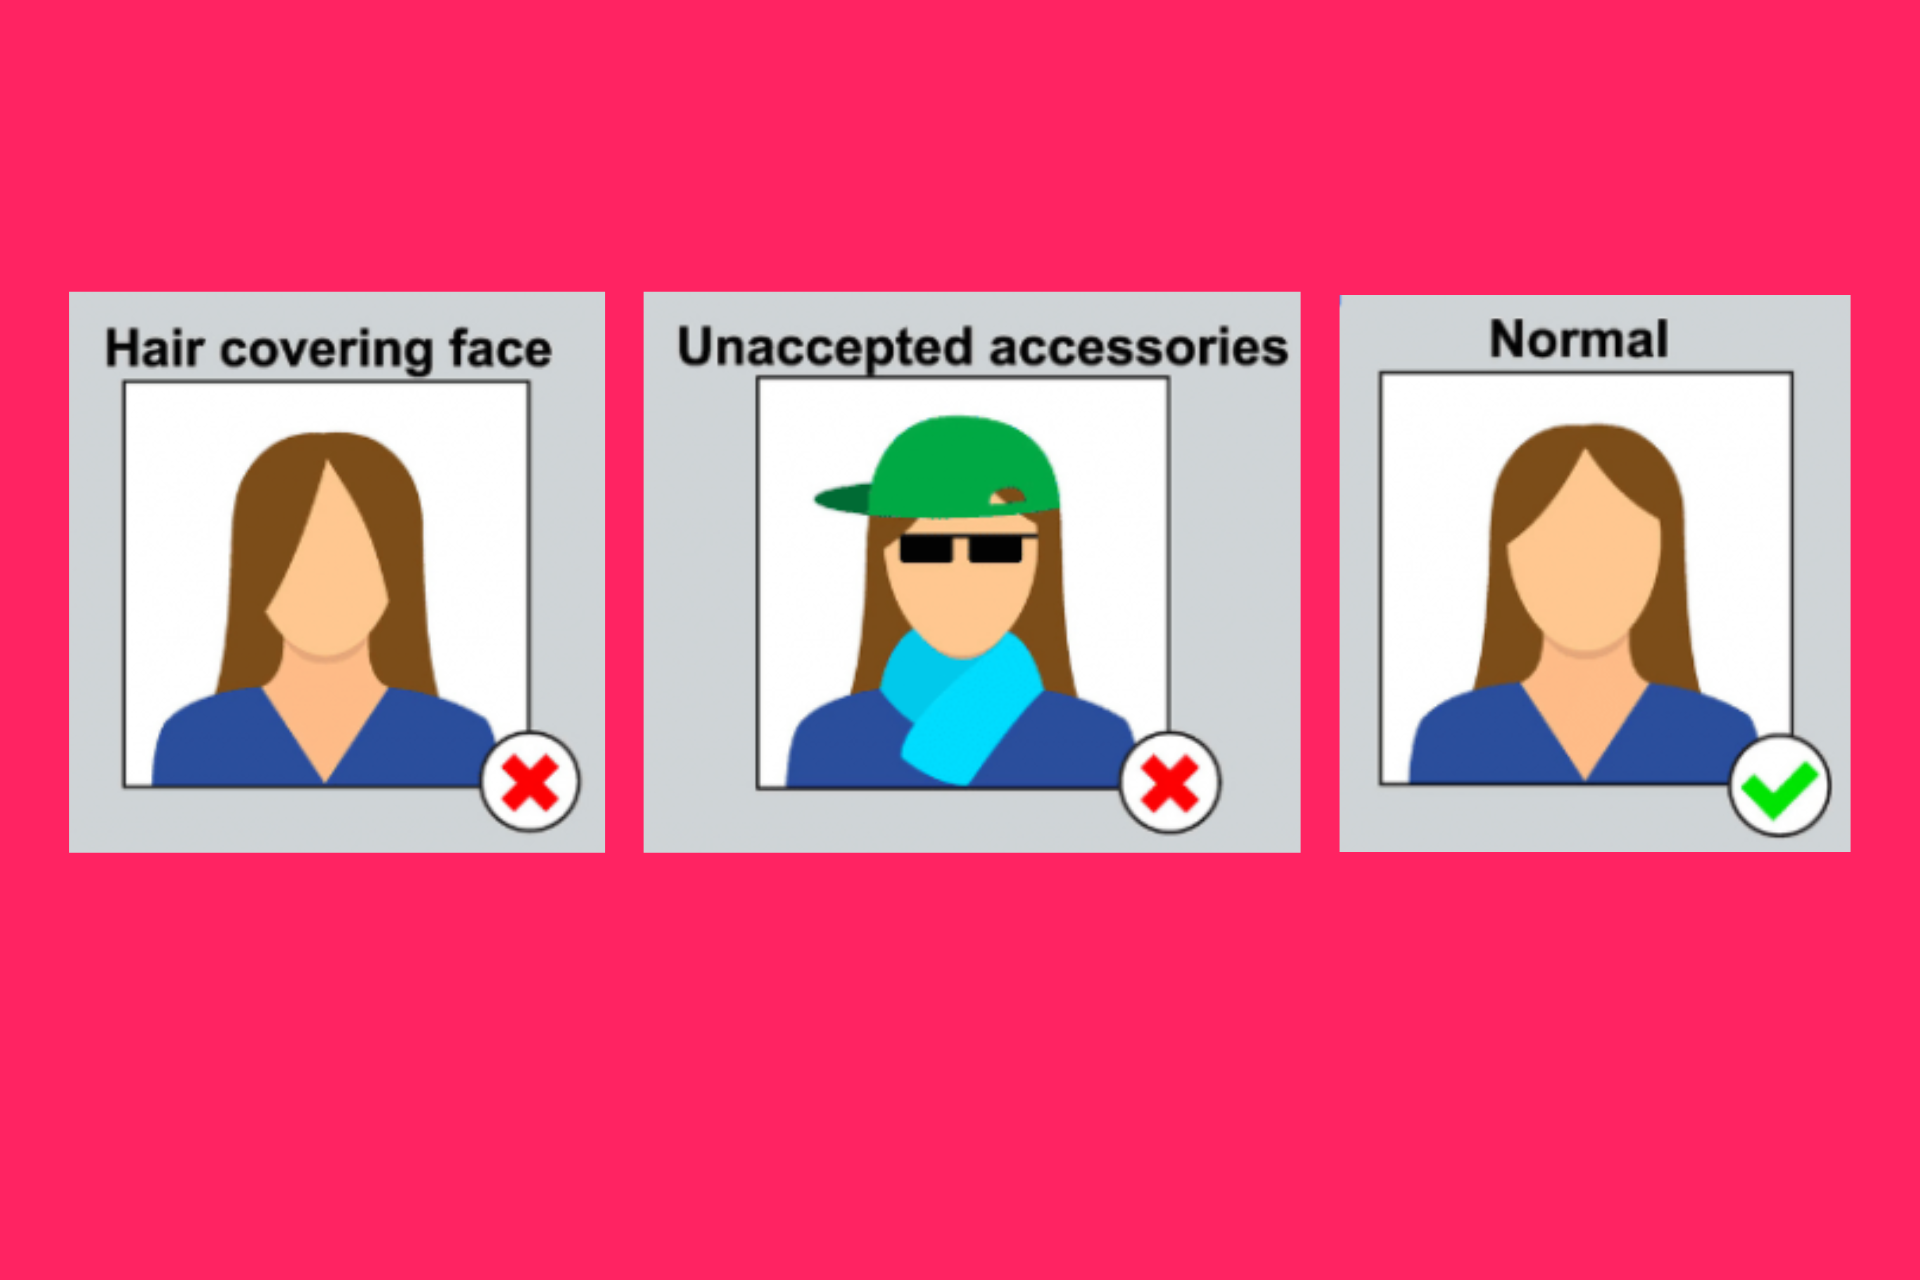
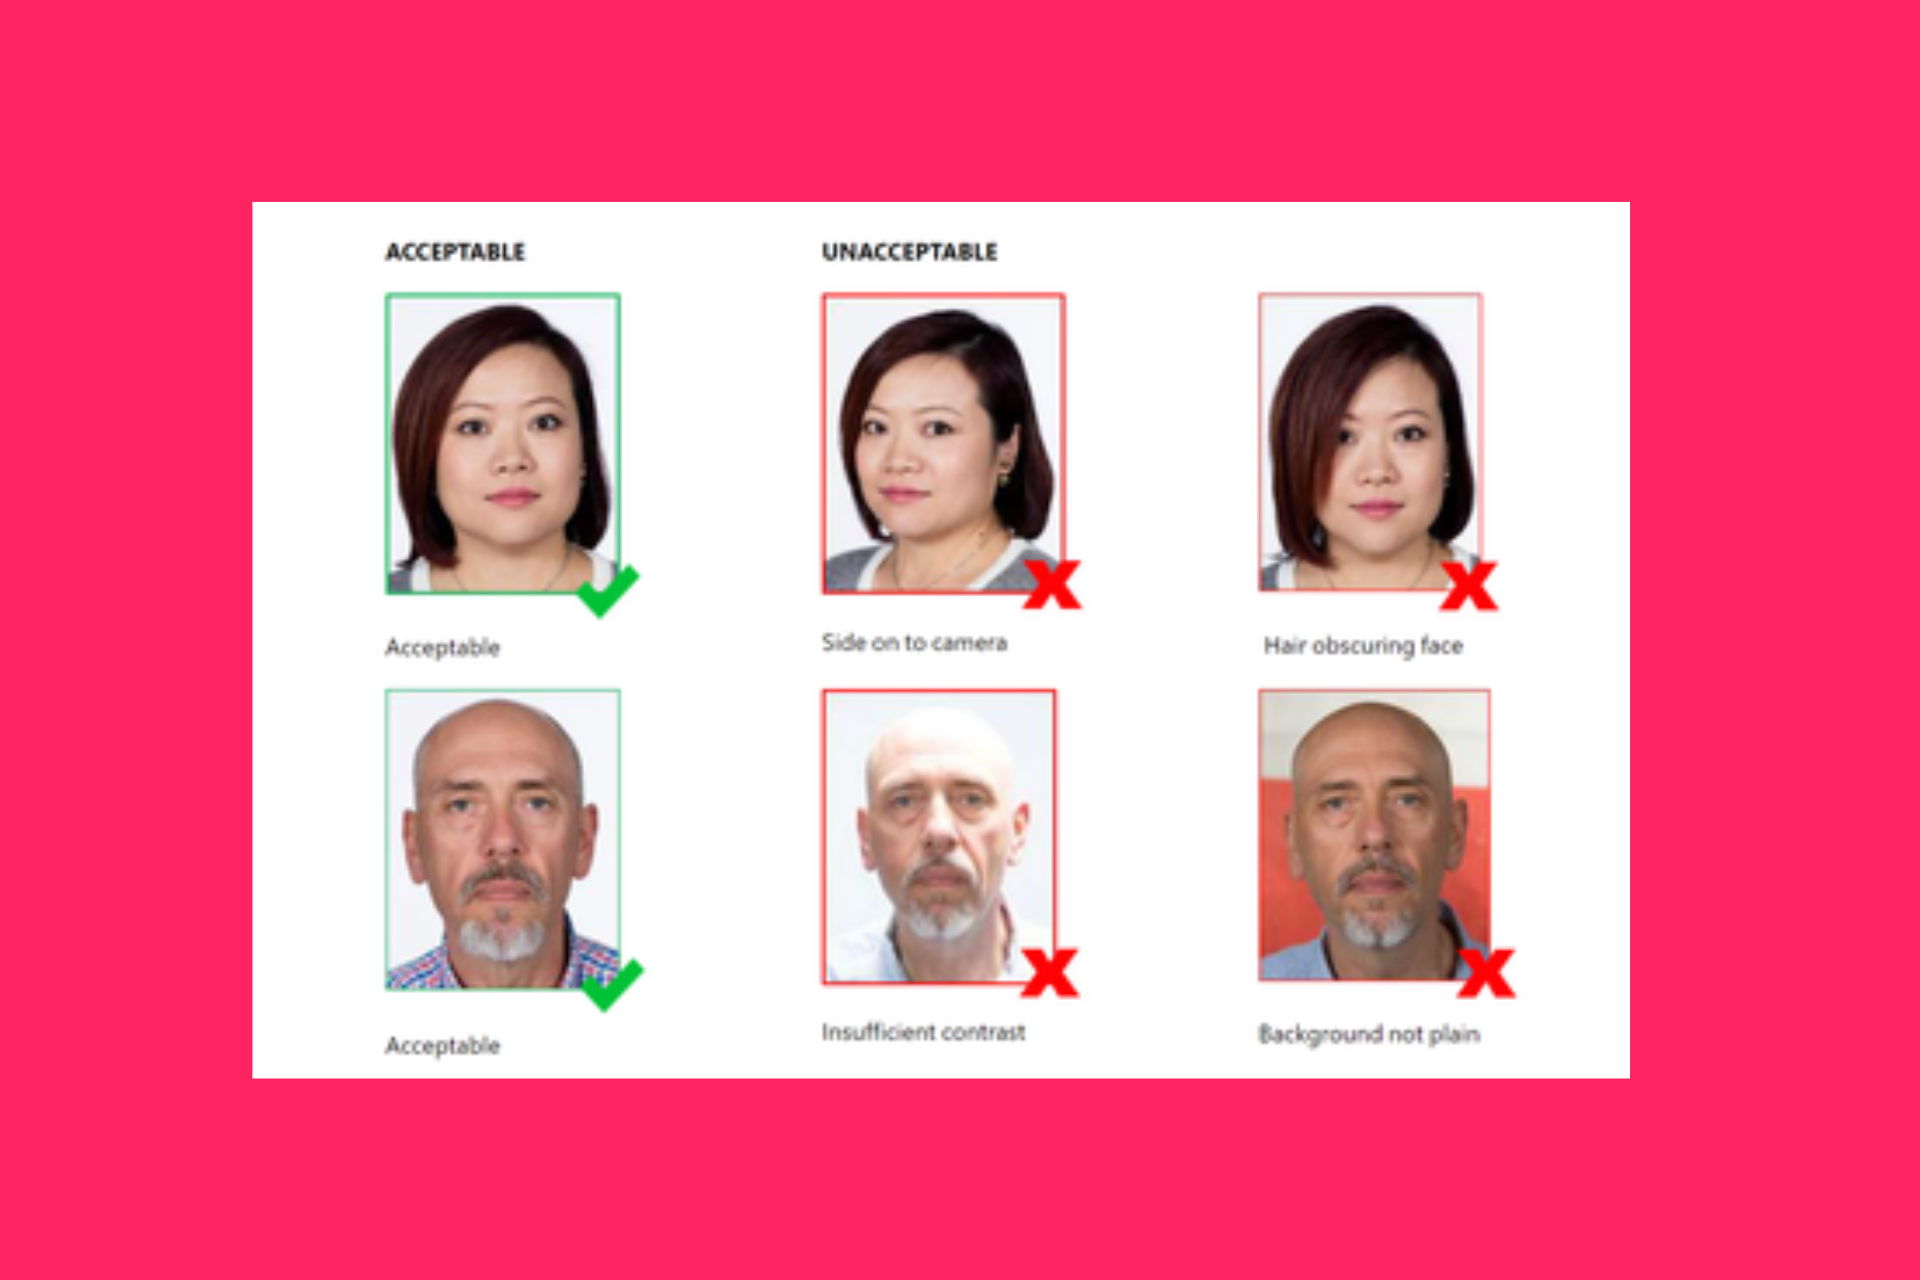
What makes a good headshot photo?
Your headshot photo will be used on your ID badge. This does not need to be professionally taken but if you are taking this photo at home, please keep the following in mind:
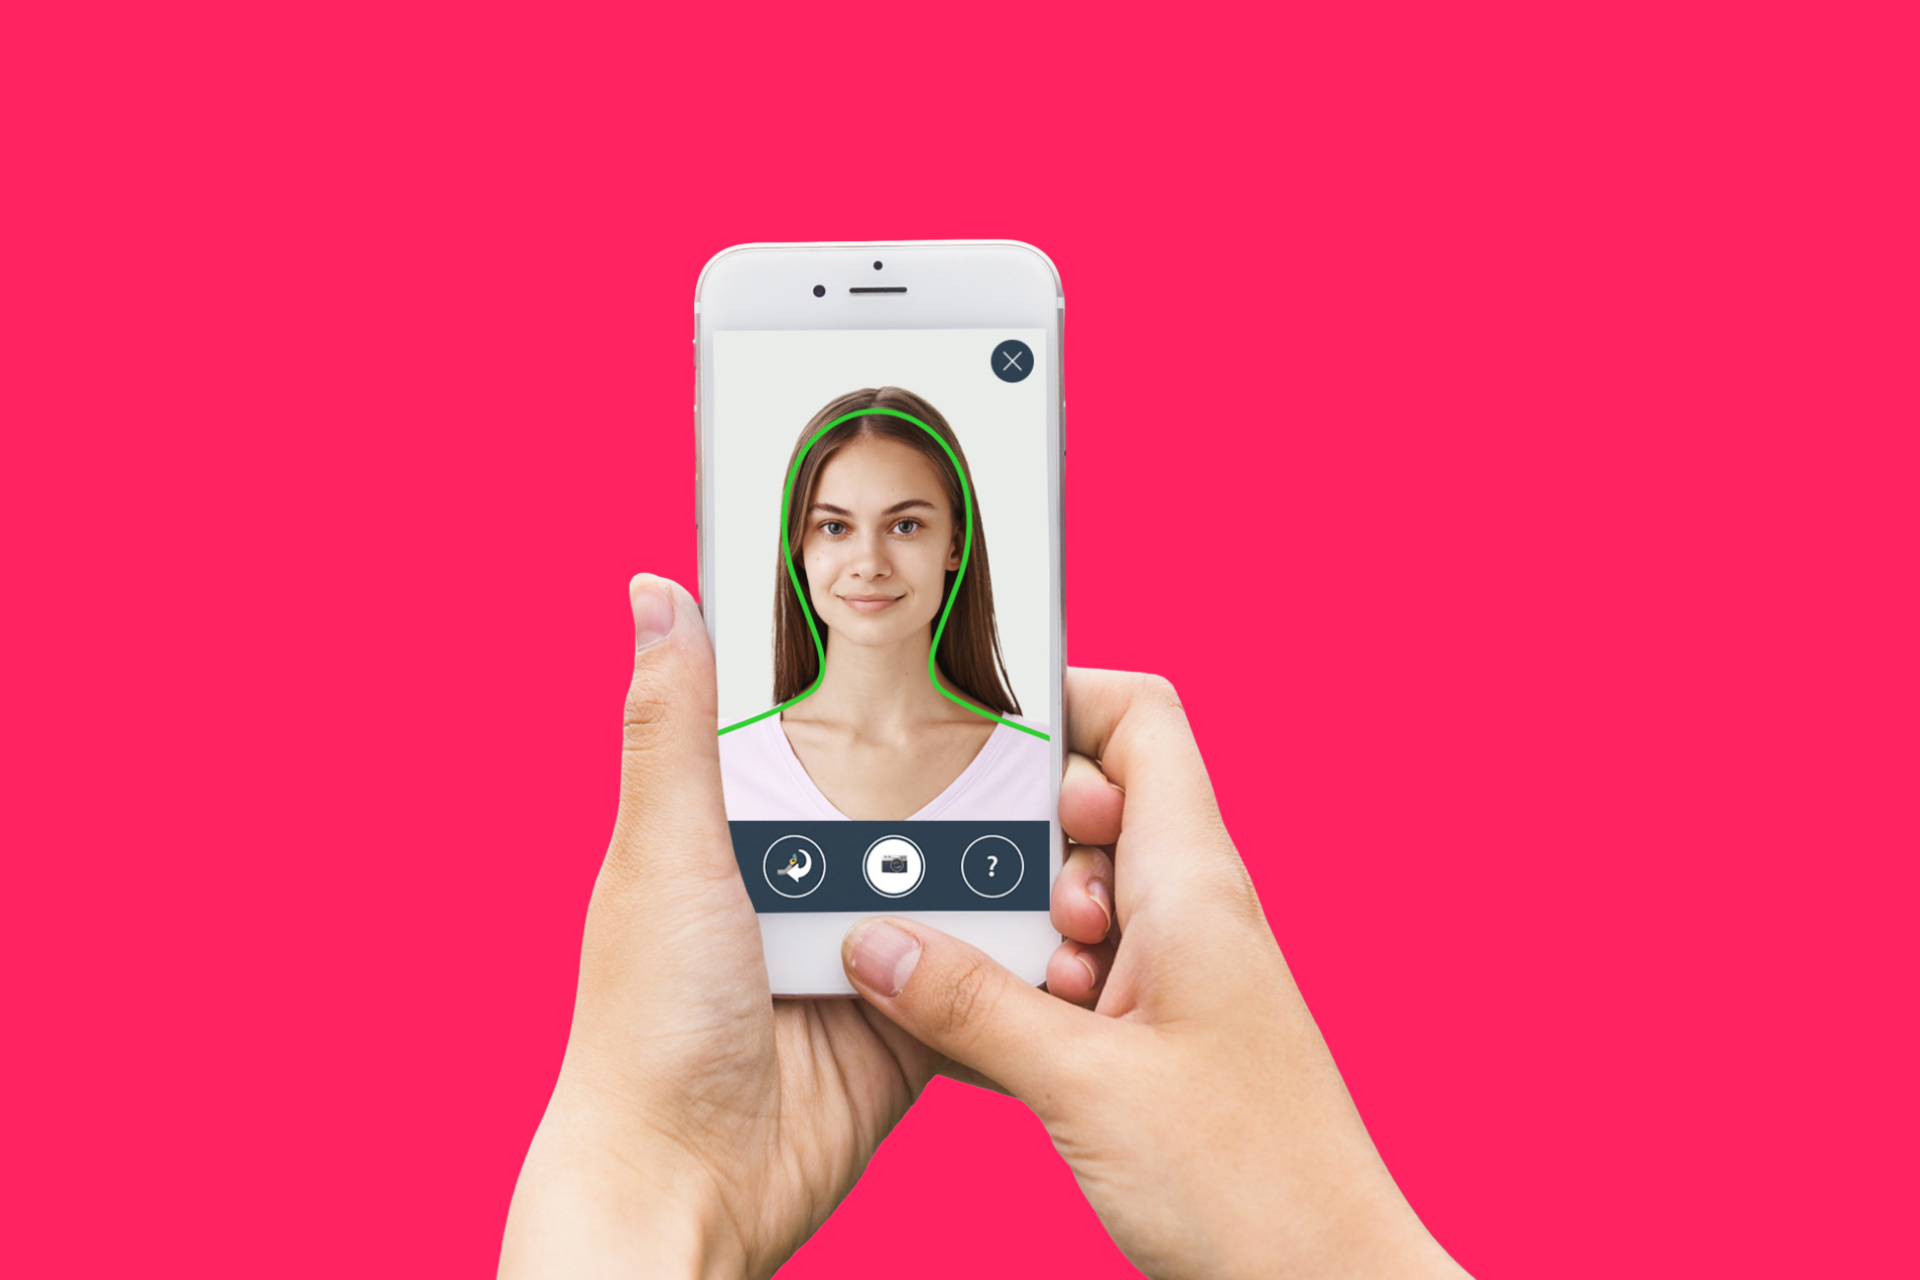
Once you are fully compliant and ready to work, your ID badge will be created and mailed to you along with your uniform!

Got a burning question you want answered?
Here's a few we get asked alot...
1. What file type should my headshot photo be?
You can include JPEG (JPG) or PNG file types.
2. How big can my headshot file size be?
Headshot file sizes are usually from 240 KB to 10 MB.
3. What if the file size is too big? How do I reduce the size?
You can reduce it using several methods:
1. Online Image Compression Tools
Use free online tools like TinyPNG, JPEG Optimizer, or Image Compressor to reduce the file size.
Upload your photo to the website, and it will compress the image while preserving quality.
2. Photo Editing Software
Use software like Adobe Photoshop, GIMP, or Microsoft Paint to resize or compress the image.
In Photoshop, you can use the Export As or Save for Web options.
In GIMP (free editing software), you can specify the quality level when exporting the file.
In Paint (on Windows), save the image as a JPEG at lower resolution.
3. Resizing the Image
Reduce the dimensions of your photo (e.g., 600 x 600 pixels) using image editing software or an online editor. Smaller dimensions typically result in smaller file sizes.
4. Mobile Apps
If you're using a smartphone, apps like Photo Compress & Resize (Android) or Compress Photos & Pictures (iOS) can help you shrink file sizes easily.
5. Adjust Quality
Lower the image quality level when saving/exporting the file in your photo editor. For example, reducing the quality to 80% can significantly reduce file size without noticeable loss in quality.
6. Change Format
Convert the image to a more space-efficient format (e.g., from PNG to JPEG), as PNG files are often larger.